How to Fix “The Link You Followed Has Expired” Error When Installing WordPress Themes
I had just purchased a premium WordPress theme for our client, configured things on our VPS, etc etc. Then I navigated to the WordPress dashboard, clicked “U…
The problem I faced...
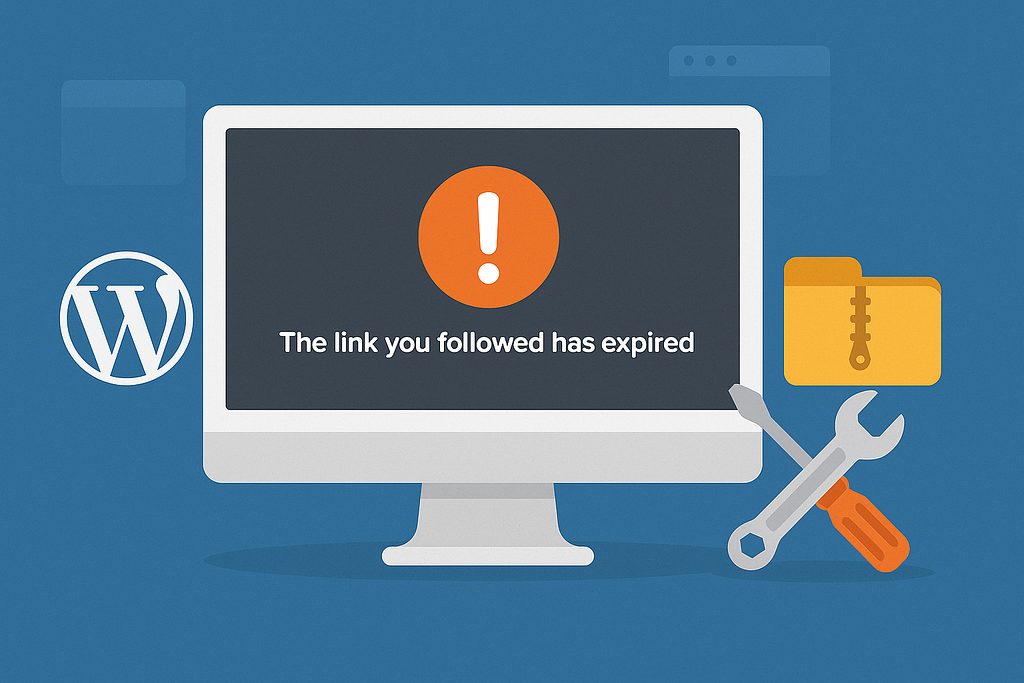
I had just purchased a premium WordPress theme for our client, configured things on our VPS, etc etc. Then I navigated to the WordPress dashboard, clicked "Upload Theme," select the file, and... nothing. Instead of installation progress, I got greeted with a cryptic message:
"The link you followed has expired."
What's Really Happening
Despite what the error message suggests, the "link" hasn't actually expired. This is WordPress's somewhat misleading way of telling us that our server doesn't have enough resources allocated to complete the file upload.
When you upload a theme or plugin through the WordPress dashboard, your server needs to:
- Accept the file upload (which requires sufficient upload size limits)
- Process the ZIP archive (which requires memory)
- Extract and install the files (which requires execution time)
If any of these operations exceeds your server's configured limits, the process fails, and WordPress displays the "expired link" error.
The Root Cause: PHP Configuration Limits
The web server's PHP configuration controls three critical settings:
1. upload_max_filesize
This defines the maximum size of any single file we can upload. Many shared hosting providers set this to just 2-8 MB by default, but modern premium themes often exceed 20-50 MB because they include demo content, multiple page builders, and extensive design assets.
2. post_max_size
This controls the maximum size of all data sent in a single request. It should always be equal to or greater than upload_max_filesize. If the theme file is 25 MB but post_max_size is set to 8 MB, the upload will fail.
3. max_execution_time
This sets how many seconds a PHP script can run before the server kills it. Installing complex themes can take longer than the typical 30-60 second default, especially on slower servers or when importing demo content.
My Solution: Editing the .htaccess File
I had several options to fix this issue, but since I am working on an Ubuntu VPS with Apache (the most common web server configuration), editing the .htaccess file proved to be the most straightforward solution.
Step-by-Step Fix
1. Access your server via SSH:
ssh root@your-server-ip
2. Navigate to the WordPress installation directory:
cd /home/your-client/public_html
3. Edit the .htaccess file:
sudo nano .htaccess
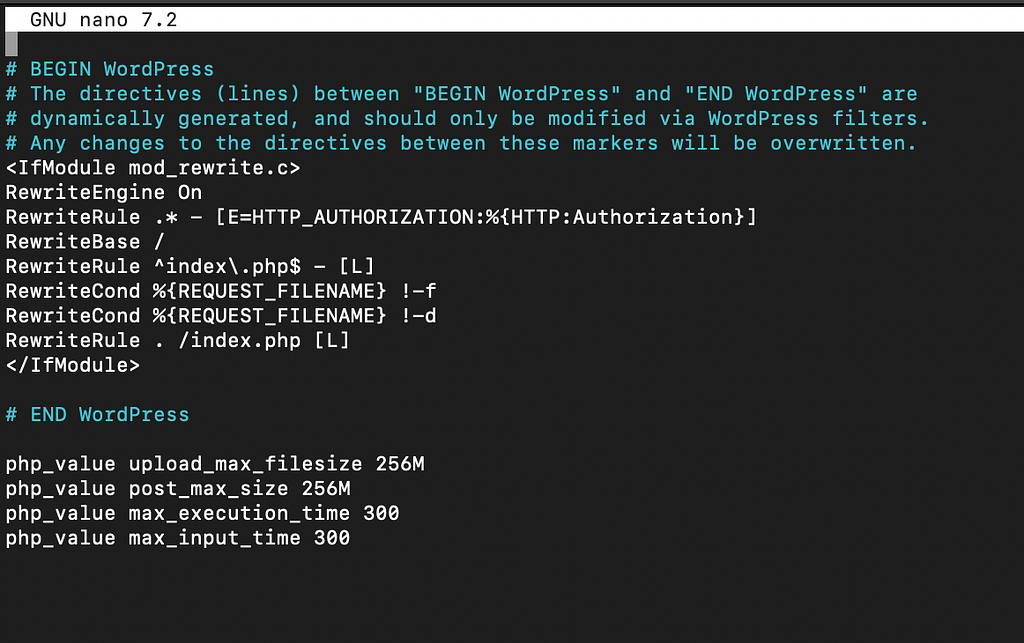
4. Scroll to the bottom of the file, past the # END WordPress line, and add:
php_value upload_max_filesize 256M
php_value post_max_size 256M
php_value max_execution_time 300
php_value max_input_time 300
your file should now look like this:
5. Save and exit:
- Press Ctrl + O to save
- Press Enter to confirm
- Press Ctrl + X to exit
6. Return to WordPress and try uploading your theme again.
The upload should now work perfectly!

Why These values in the htaccess file?
You might wonder why we chose 256 MB and 300 seconds. Here's the reasoning:
- 256M file size: Most premium themes with all their assets fall well under this limit, giving us plenty of headroom
- 300 seconds (5 minutes): This provides ample time for even the slowest servers to process large theme files
- max_input_time: We set this equal to max_execution_time to ensure the entire upload and processing pipeline has sufficient time
Alternative Solutions
If editing .htaccess doesn't work for your setup (some hosts restrict this), here are other approaches:
Method 1: Edit php.ini
Create or edit a php.ini file in your WordPress root directory:
upload_max_filesize = 256M
post_max_size = 256M
max_execution_time = 300
Method 2: Modify functions.php
Add this to your theme's functions.php file (use a child theme!):
@ini_set('upload_max_filesize', '256M');
@ini_set('post_max_size', '256M');
@ini_set('max_execution_time', '300');
Method 3: Contact Your Host
If you're on shared hosting or uncomfortable editing files, simply contact your hosting provider's support team. This is a common request, and they can adjust these settings for you in minutes.
Method 4: Manual FTP Upload (The Nuclear Option)
Bypass WordPress's uploader entirely:
- Download and unzip your theme file locally
- Connect to your server via FTP
- Upload the unzipped theme folder to /wp-content/themes/
- Activate the theme from your WordPress dashboard
The Happy Ending
After implementing this fix, the custom theme uploaded without issue. I was able to proceed with installing required plugins, importing a demo layout, and customizing the site for our client. What initially seemed like a project-blocking error turned into a 5-minute configuration adjustment.
If you have any better solution or think mine can be improved, please reach out and let's chat!
Thanks for reading :)
If you liked this article, feel free to connect with me!
Aussi publié sur Medium